Resumo rápido
Evite a cola quente – esta desmagnetiza permanentemente os ímanes de neodímio. Utilize resina epóxi de duas componentes para obter a máxima resistência ou supercola espessa para projetos rápidos de passatempo. Limpe e lixe sempre a superfície do íman antes de colar. Aguarde pelo menos 24 horas até à cura total antes de submeter o íman a qualquer esforço.
Depois de colar centenas (talvez milhares) de ímanes de neodímio em vários projetos, bancos de ensaio e protótipos de produtos, aprendi exatamente que cola usar para ímanes de neodímio – e o que devo evitar a todo o custo.
Neste guia, na qualidade de profissional fabricante de ímanes de neodímio personalizados, vou analisar os melhores adesivos para diferentes situações, mostrar-lhe exatamente como preparar os seus ímanes para obter a máxima resistência de aderência e partilhar algumas lições aprendidas à custa de erros cometidos por clientes que aprenderam da maneira mais difícil.
Vamos começar.

Por que é complicado colar ímanes de neodímio
Antes de entrarmos em pormenores sobre produtos específicos, é preciso compreender com o que se está a trabalhar.
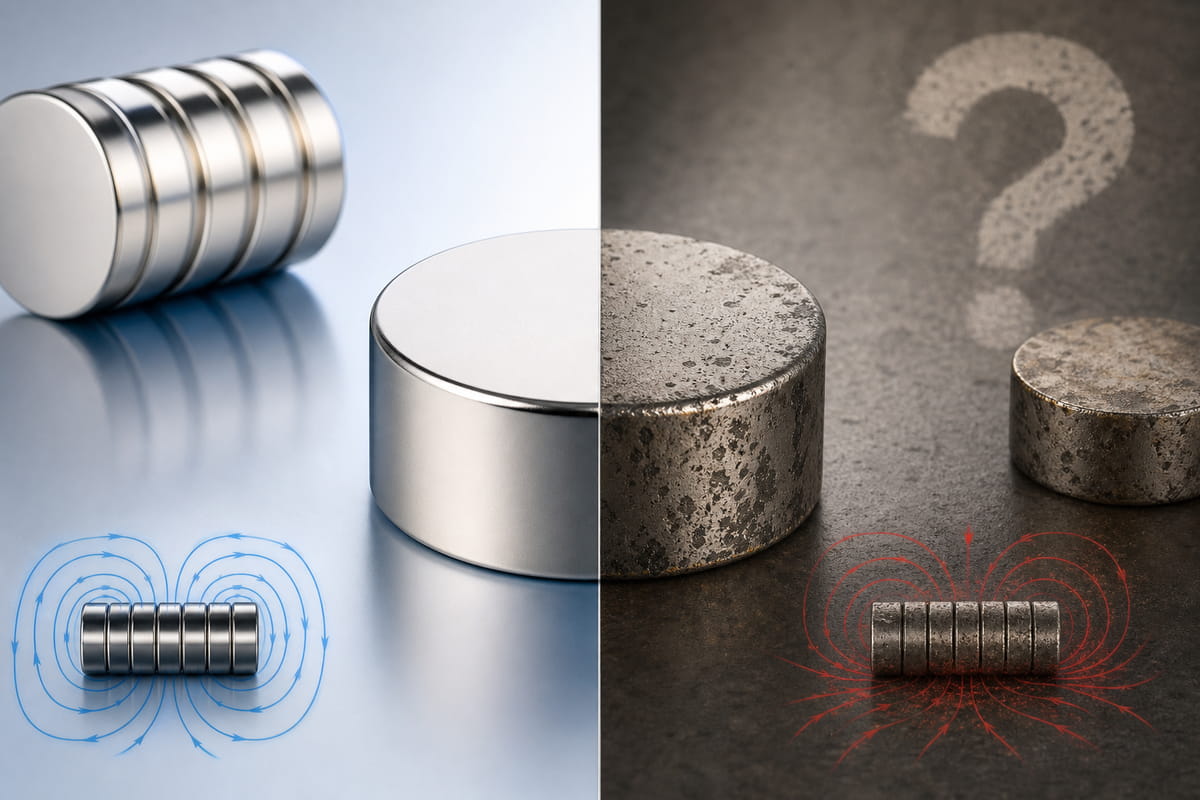
Os ímanes de neodímio (aqueles ímanes prateados brilhantes de terras raras) são normalmente revestidos com níquel. Por vezes, trata-se de uma camada tripla de níquel-cobre-níquel.
Esse revestimento de níquel é elegante.
Tipo, mesmo muito elegante.
A maioria das colas tem dificuldade em aderir a este material. Sabes como a água forma gotículas num carro recém-encerado? É basicamente isso que acontece com a cola nestes ímanes.
Além disso, estes ímanes são incrivelmente fortes. A força de atração consegue facilmente superar uma ligação adesiva fraca. Por isso, é necessário algo que consiga resistir a uma tensão mecânica elevada.
A boa notícia? Com uma preparação adequada e a escolha certa do adesivo, é possível obter uma colagem que durará anos.
Os melhores adesivos para ímanes de neodímio
Ao longo dos anos, experimentei várias colas diferentes. Eis o que realmente funciona.
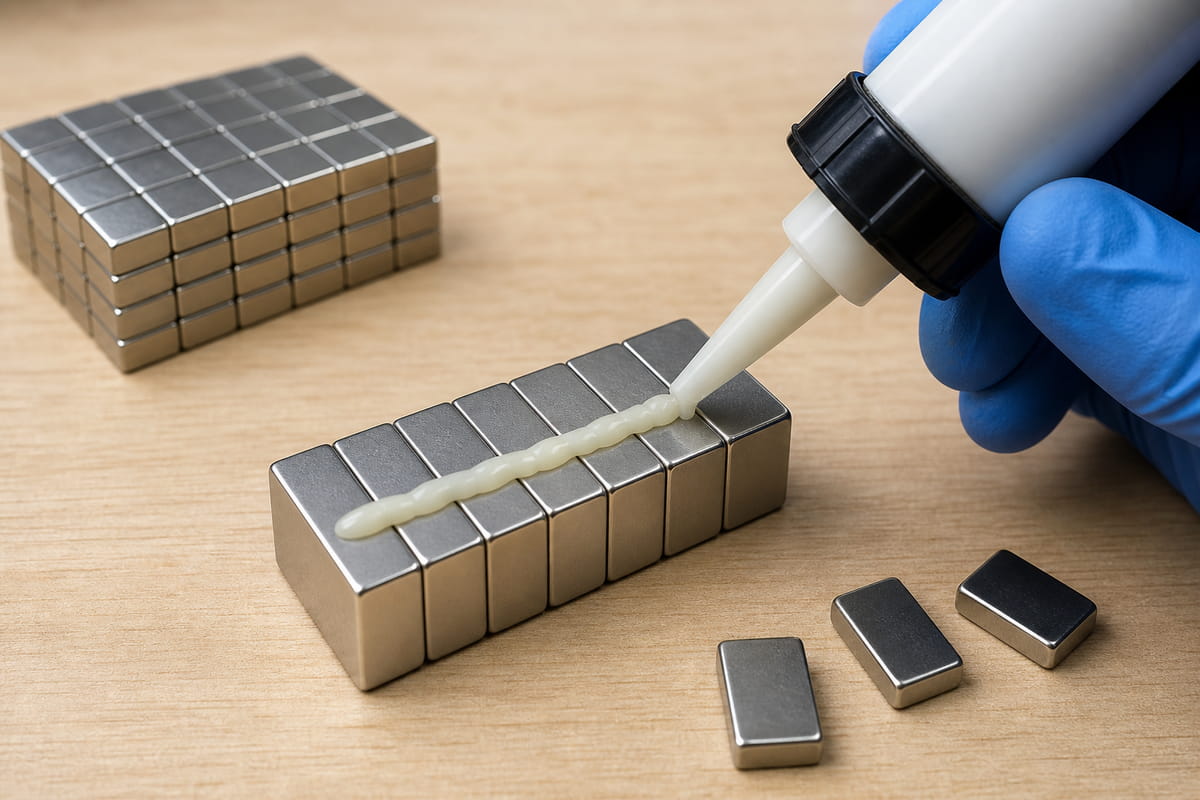
1. Epóxi de duas componentes (a minha escolha preferida)
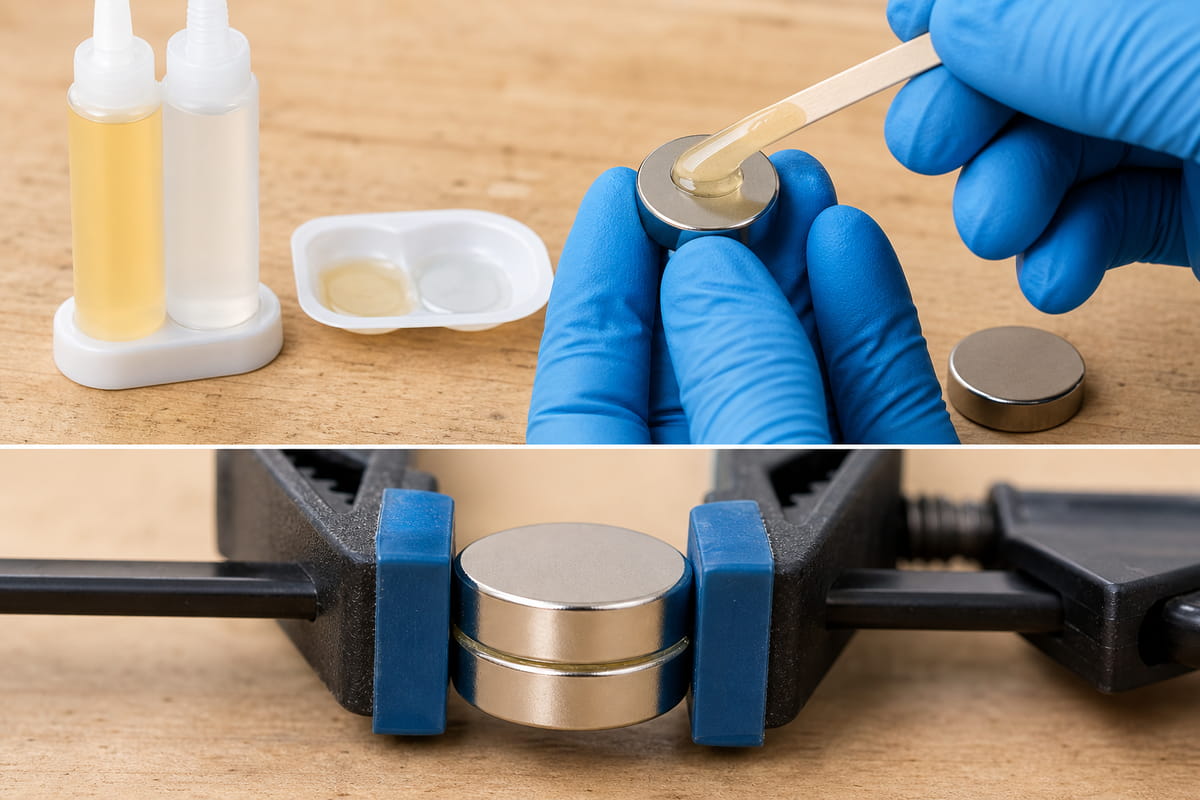
Se precisar da máxima resistência estrutural, opte por um epóxi de duas componentes.
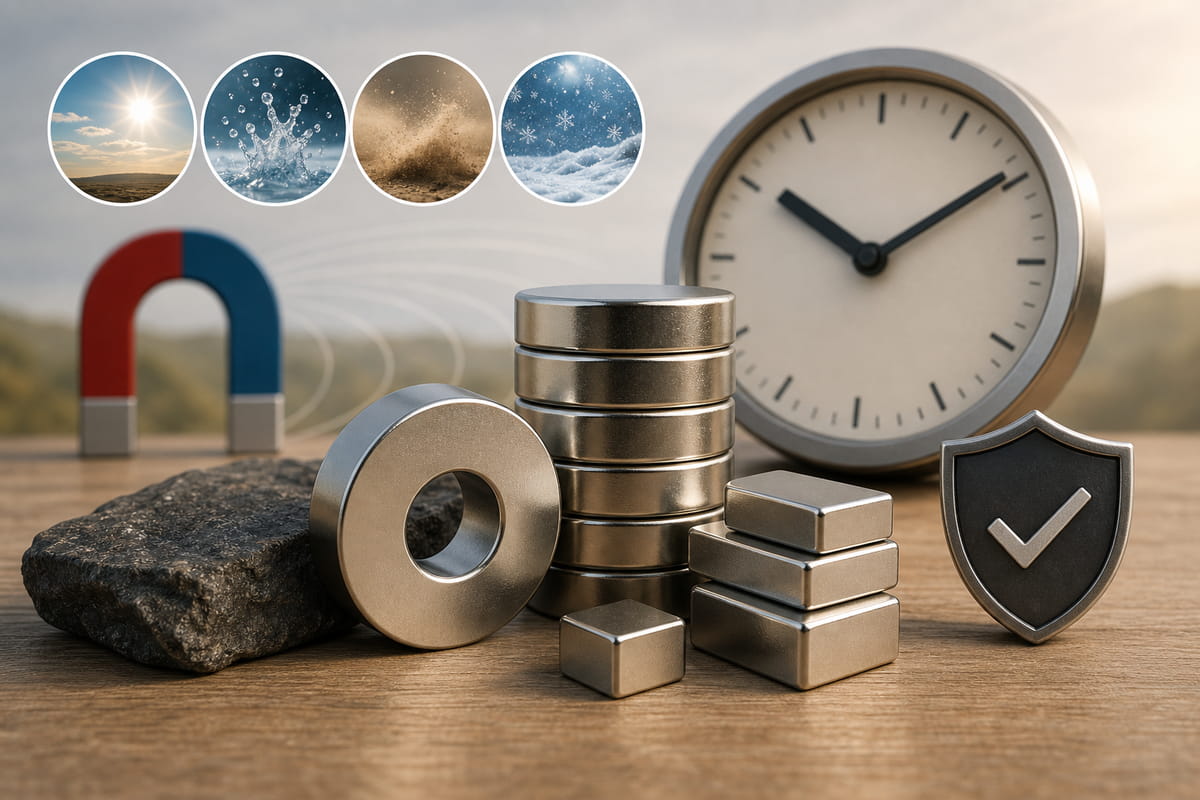
Por que é que funciona: O epóxi cria uma ligação de resistência industrial capaz de suportar a forte força de atração dos ímanes de neodímio. É também resistente à humidade, aos produtos químicos e às variações de temperatura.
As minhas recomendações:
- Epoxi de duas componentes Gorilla
- J-B Weld (mas atenção – falaremos mais sobre isto adiante)
- 3M DP-100
O lado negativo: A cura demora algum tempo. A maioria dos epóxis precisa de, pelo menos, 24 horas para curar completamente. Por isso, se estiver com pressa, esta não é a melhor opção.
Ideal para: Aplicações de alta resistência, instalações permanentes, qualquer situação em que o íman seja submetido a fortes forças de atração.
2. Cianoacrilato espesso (Super Glue)
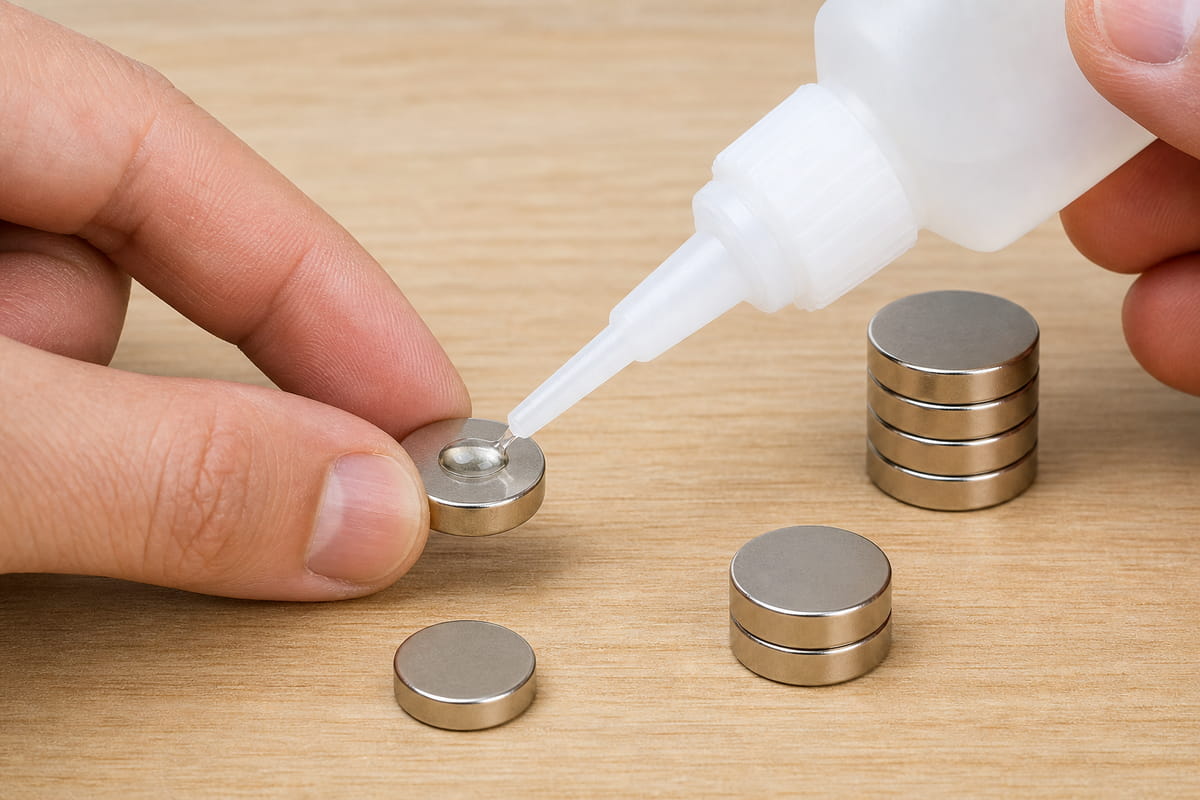
Precisas de algo rápido? A cola CA espessa (supercola) é a tua aliada.
Por que é que funciona: Secam em segundos. Perfeito para projetos de passatempo em pequena escala, trabalhos manuais ou para colar ímanes em orifícios pouco profundos.
O que procurar: As formulações em gel espesso são as mais eficazes. A supercola líquida escorre por todo o lado e não preenche as fendas microscópicas. Pessoalmente, recomendo o Starbond EM-2000 ou a fórmula em gel da Loctite.
O lado negativo: A ligação pode ser frágil. Não resiste tão bem a tensões ou impactos intensos como o epóxi.
Ideal para: Soluções rápidas, ímanes pequenos, aplicações que não exigem grande esforço.
3. Poliuretano (Gorilla Glue)
A Gorilla Glue castanha original é um adesivo de poliuretano. É resistente, preenche fendas e funciona em várias superfícies.
Mas a questão é a seguinte: Forma espuma à medida que endurece.
Essa ação espumante pode ser uma bênção ou uma maldição. Preenche muito bem as superfícies irregulares. Mas também pode causar uma grande confusão se não se tiver cuidado.
O lado negativo: O tempo de secagem é mais longo do que o da supercola. Além disso, a formação de espuma exige limpeza.
Ideal para: Superfícies flexíveis, madeira, aplicações em que o preenchimento de fendas é importante.
4. E6000 ou adesivos de silicone
Precisa de flexibilidade? Estas são as suas melhores opções.
Por que razão os considerar: Mantêm-se elásticos após a cura. Por isso, se a sua aplicação envolver movimento ou vibração, os adesivos à base de silicone não racham como o epóxi ou a supercola.
O lado negativo: Tempo de cura prolongado (mais de 24 horas). A aderência inicial não é tão forte como a do epóxi.
Ideal para: Aplicações com vibração, projetos ao ar livre, ambientes marítimos.
E o JB Weld?
Só um momento – preciso de referir algo importante sobre o J-B Weld.
O J-B Weld é um epóxi muito utilizado com material de enchimento de aço. Essas lascas de metal são, na verdade, atraídas pelos teus ímanes.
Alguns clientes referiram que isto faz com que a cola suba pelas laterais do íman enquanto ainda está húmida. Isso causa uma confusão terrível.
Dito isto, outras pessoas referiram que a aderência é excelente quando o aplicam com cuidado. Por isso, tenha cuidado. Tenha um pano à mão. E talvez seja melhor testar primeiro num pedaço de íman.
Como Obter a Ligação Mais Forte (Passo a Passo)
Eis o processo que já utilizei com sucesso centenas de vezes. Não salte nenhuma destas etapas.
Passo 1: Limpar as superfícies
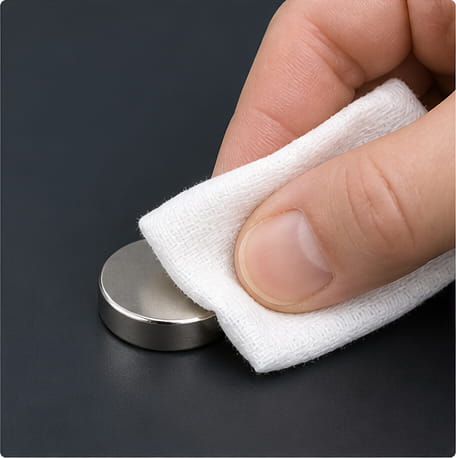
Nunca é demais salientar isto.
Pegue em álcool isopropílico (o 90% ou superior funciona melhor). Use um cotonete ou um pano limpo para limpar tanto o íman como o material de base.
Porquê? Mesmo uma pequena pegada de gordura pode reduzir significativamente a resistência da ligação. E não estou a falar de uma diferença insignificante – estamos a falar da diferença entre uma ligação que aguenta anos e outra que falha numa semana.
Dica de profissional: Use luvas durante e após a limpeza. A sua pele contém óleos naturais que podem transferir-se para o íman e prejudicar a aderência.
Passo 2: Lixar o íman
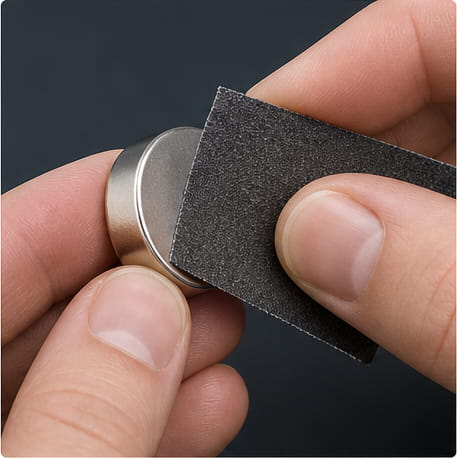
Lembras-te de eu ter dito que o revestimento de níquel é elegante?
Eis como resolver isso.
Pegue numa lixa de grão fino (o grão 300–400 funciona muito bem). Lixe ligeiramente o lado do íman onde vai colar.
Não se trata de remover completamente o revestimento. O objetivo é apenas criar um “dente mecânico” – pequenas ranhuras que proporcionem à cola uma maior área de contacto para aderir.
Algumas dicas:
- Lixe em padrão de hachuras cruzadas para obter os melhores resultados
- Se estiver a utilizar muitos ímanes, limpe a sua área de trabalho periodicamente. O pó de níquel acumula-se e pode ser difícil de remover.
- A fita adesiva azul de pintor funciona muito bem para remover o pó dos ímanes
Algumas pessoas chegam mesmo a lixar para além da primeira camada de níquel, até à camada de cobre subjacente. Isso é opcional, mas pode criar uma ligação ainda mais forte.
Passo 3: Verifique novamente a polaridade

Isto parece óbvio. Mas nem imaginas quantas pessoas já colaram um íman ao contrário.
Antes de aplicar qualquer adesivo, certifique-se de que o íman está virado na direção certa.
Porque, assim que a cola secar, já não há como alterar nada.
Passo 4: Aplique na base, não no íman
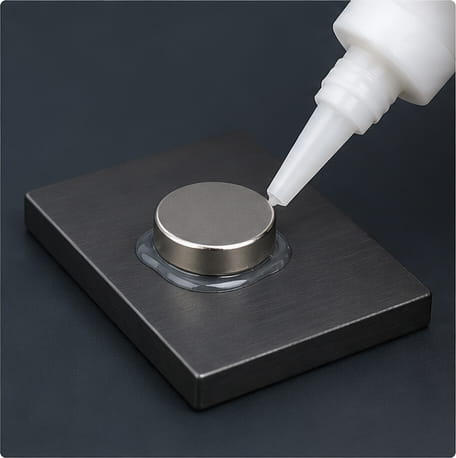
Eis uma técnica que te vai poupar muito trabalho de limpeza.
Em vez de colocar cola diretamente no íman, coloque uma pequena gota no orifício ou na superfície onde o íman vai ser colocado.
Porquê? Quando se pressiona o íman para o fixar no lugar, isso impede que a cola escorra pelas laterais do íman. Menos sujidade, melhor resultado.
Passo 5: Prender com uma braçadeira ou segurar no lugar
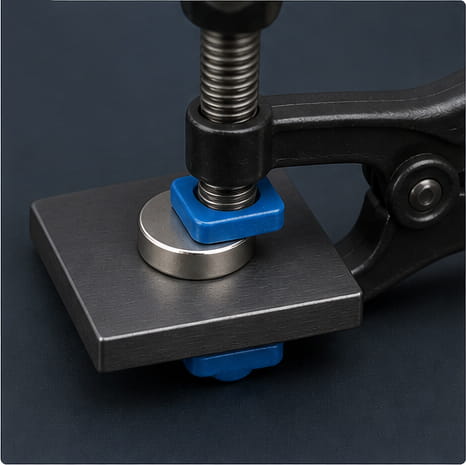
No caso do epóxi ou do poliuretano, deve manter o íman firmemente na sua posição até que o adesivo comece a secar.
Eis um truque engenhoso: Se possível, organize a sua montagem de forma a que o íman seja atraído para uma placa de aço. A própria força magnética irá manter o íman na posição enquanto a cola seca.
Muito inteligente, não é?
Passo 6: Deixar secar completamente
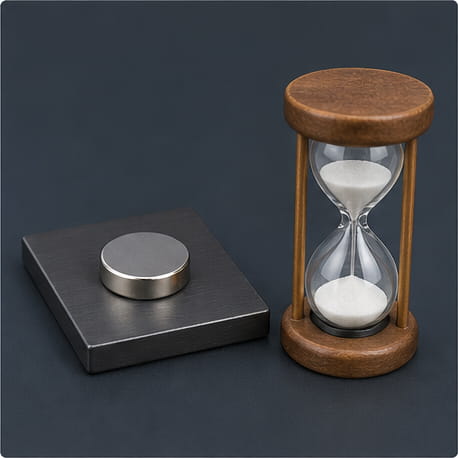
É aqui que a paciência compensa.
Aguarde pelo menos 24 horas antes de submeter o seu íman a forças de atração intensas. A cola pode parecer seca ao toque após uma hora, mas ainda não atingiu a sua resistência química total.
Acredita em mim. Já vi ligações em perfeitas condições falharem porque alguém se impacientou e as testou demasiado cedo.
O que NÃO se deve usar
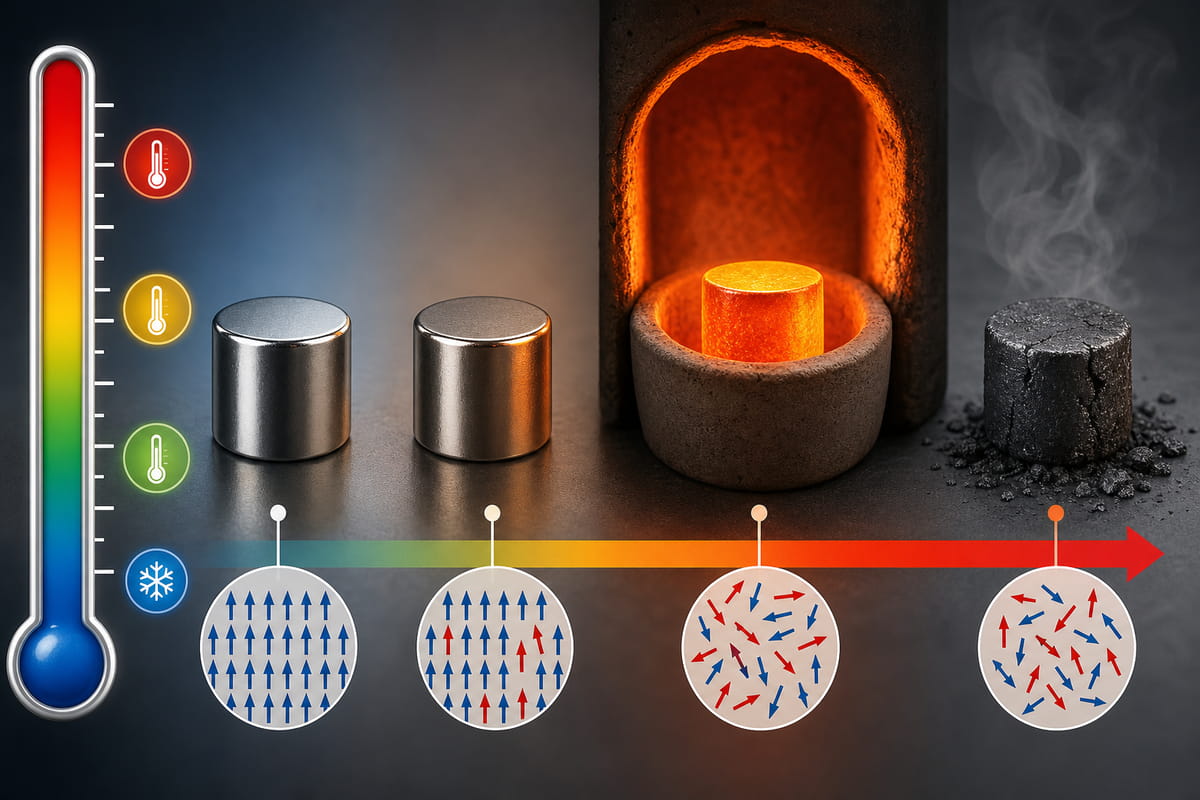
Não utilize cola quente em ímanes de neodímio.
Eu sei que é prático. Sei que já tens uma pistola de cola. Mas as altas temperaturas podem desmagnetizar permanentemente os teus ímanes.
Mesmo os adesivos termofusíveis de “baixa temperatura” estão bem acima da temperatura máxima de funcionamento da maioria dos ímanes de neodímio. Não o faça.
Colagem em diferentes superfícies
A escolha do adesivo pode variar consoante o material em que vai colar.
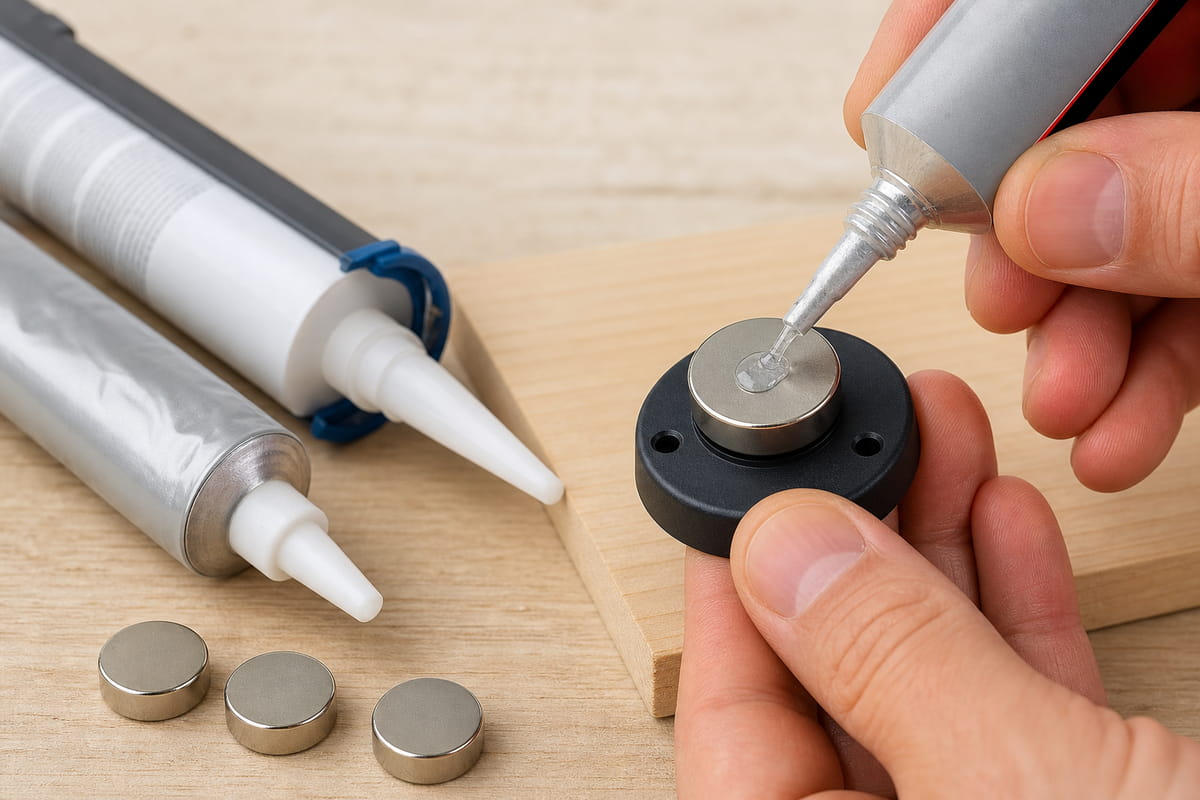
Íman na madeira
O epóxi de duas componentes é a melhor opção neste caso. A madeira é porosa e o epóxi penetra nela, criando uma ligação mecânica.
O E6000 ou a cola de contacto podem ser adequados para aplicações com menor tensão, em que existe um espaço entre o íman e a superfície (o que reduz a força de atração efetiva).
Íman e metal
Mais uma vez, o epóxi é o campeão em aplicações de alta resistência.
Se estiver a colar numa peça de alumínio anodizado, um cliente relatou ter obtido excelentes resultados com o Loctite 609 (adesivo acrílico) e o Loctite 638 (metacrilato de uretano). Quando utilizados com o primário Loctite 7649, nem sequer foi necessário tornar as superfícies rugosas.
Do íman ao plástico
Isto complica-se rapidamente.
Alguns plásticos (como o ABS e o PVC) aderem bem a muitos adesivos. Outros (como o polipropileno e o polietileno) são praticamente impossíveis de colar.
A minha recomendação: Contacte a equipa de apoio técnico de uma empresa de adesivos, como a 3M ou a Loctite, relativamente ao seu tipo específico de plástico. Eles irão orientá-lo na direção certa.
Dito isto, ouvi falar muito bem do Loctite Plastic Bonder Epoxy. Trata-se de uma fórmula de epóxi com acrílico e, segundo dizem, funciona bem com ABS, PVC, acrílico, nylon, policarbonato, e mylar.
Comentários reais dos clientes
Ao longo dos anos, recebi algumas sugestões excelentes de leitores que experimentaram diferentes adesivos. Eis o que funcionou para eles:
Para colar em plástico: Um cliente recomendou vivamente que experimentássemos o Loctite Plastic Bonder Epoxy. Referiu ter obtido excelentes resultados com policarbonato, sem ter de irizar nenhuma das superfícies.
Para fixar ímanes em orifícios: Outro cliente obteve bons resultados ao fixar ímanes cilíndricos e anulares em alumínio anodizado utilizando Loctite 609 e Loctite 638 com primário. Não foi necessário tornar a superfície rugosa.
Para plásticos com baixa energia superficial: A fita de espuma da 3M com adesivo LSE (baixa energia superficial) em ambos os lados funciona bem com plástico ABS. A espuma tem elasticidade suficiente para “cobrir” ambas as superfícies.
Uma breve nota sobre a fita adesiva de dupla face
No caso de ímanes mais pequenos, a fita adesiva de dupla face pode ser uma boa opção.
A fita VHB da 3M é excelente. Ou pode comprar pontos adesivos pré-cortados com dimensões específicas para ímanes em disco.
Dito isto, estas fitas, em geral, não são suficientemente resistentes para ímanes grandes e potentes. Tenha isso em conta.
Perguntas frequentes
“A supercola deixou uma mancha branca no meu plástico. O que é que aconteceu?”
Não está sozinho. Algumas colas de cianoacrilato podem libertar gases ou infiltrar-se em determinados plásticos, deixando um resíduo branco. Optar por uma fórmula em gel pode ajudar. Ou considere a utilização de epóxi para aplicações em plástico.
“Posso usar um ativador com supercola?”
Sim. E é uma verdadeira revolução. O spray de secagem instantânea transforma a supercola de “esperar 5 minutos” para “aderir em 5 segundos”. Mas tenha cuidado: se a supercola entrar em contacto com a pele e for exposta ao ativador, pode gerar calor suficiente para causar uma queimadura química. Trabalhe numa área bem ventilada e use luvas.
“Será que tenho mesmo de esperar 24 horas?”
Se queres que a relação dure? Sim.
A cola pode parecer seca. Mas o processo químico de cura demora algum tempo. Se submeter um íman a uma tensão máxima antes de estar totalmente curado, estará a provocar uma falha.
Conclusão
Então, depois de tudo isto, qual é a resposta para Que cola utilizar para ímanes de neodímio??
Eis a minha análise simples:
- Para máxima resistência e durabilidade → Epóxi de duas componentes (Gorilla 2-Part Epoxy ou J-B Weld)
- Para projetos rápidos e de pequena escala → Supercola espessa à base de cianoacrilato (Starbond EM-2000)
- Para superfícies flexíveis ou vibrações → E6000 ou cola de silicone
- Para madeira → Epóxi ou poliuretano (Gorilla Glue)
Mas lembre-se: a cola é apenas metade do trabalho. A preparação da superfície é igualmente importante.
Limpe as superfícies. Esfregue ligeiramente o íman. Verifique novamente a polaridade. Aplique na base. E, por amor de Deus, aguardar até que a cura esteja completa.
Se fizeres tudo isso, os teus ímanes vão ficar exatamente onde os colocares.
Agora vai lá e cria algo fantástico.
Já experimentaste algum adesivo diferente que tenha funcionado mesmo bem? Ou aprendeste uma lição da maneira mais difícil? Deixa um comentário abaixo – adoraria saber o que funcionou para ti.